Understanding the Oil Change Process: A Step-by-Step Guide
Taking care of your car is essential for its longevity and performance. One of the most important aspects of car maintenance is getting regular oil changes. Oil plays a crucial role in keeping your engine running smoothly and preventing potential issues. However, understanding the oil change process can be overwhelming for many car owners. From different types of oil to various service intervals, it can be challenging to keep track of it all. But fear not, we have got you covered. In this blog post, we will give you a step-by-step guide to understanding the oil change process, so you can feel confident and informed the next time you take your vehicle in for service.
Before we dive in, let's get something straight. Getting regular
car engine oil change is crucial for your car's health. It not only ensures your engine functions properly but also helps improve fuel efficiency and reduce emissions. So do not skip or delay your oil change appointments. Now, let's get started with the step-by-step guide to understanding the oil change process.

Step 1: Determine the Type of Oil Your Car Needs
Not all oils are created equal. There are different types of oils available in the market, and each serves a specific purpose. Here are the three primary types of oils you should know about:
- Conventional oil: This is the most commonly used type of oil. It is made from refining crude oil and has additives to help it last longer.
- Synthetic oil: his is a man-made alternative to conventional oil. It is created using chemically modified petroleum components or a blend of synthetic and conventional oils. Synthetic oils offer better protection and performance in extreme weather conditions and high-performance vehicles.
- High mileage oil: This type of oil is specially designed for vehicles with over 75,000 miles on the odometer. It contains additives that help reduce oil consumption, protect against wear, and maintain seal condition.
Not sure which type of oil your car needs? Check your owner's manual or consult with a professional mechanic.
Step 2: Determine the Right Service Interval
Gone are the days when car owners were advised to get an oil change every 3,000 miles. With advancements in technology and improvements in engine design, most cars today can go up to 7,500 miles or more between oil changes. However, this can vary depending on your vehicle's make, model, and driving habits. It's best to follow the recommendations in your owner's manual or consult with a trusted mechanic to determine the right service interval for your car. Our team offers
quick oil changes to keep your schedule and car in sync.
Step 3: Gather Supplies and Tools
If you plan on changing your oil yourself, make sure you have all the necessary supplies and tools beforehand. This includes:
- New oil filter
- Appropriate-sized wrench for the oil filter
- Oil drain pan
- Funnel
- Gloves
- Rags or paper towels
- New oil
- Oil filter wrench
- Jack and jack stands (if needed)
Step 4: Prepare Your Vehicle
Before you start the oil change process, make sure your car is parked on a level surface and the engine is off. Follow these steps to prepare your vehicle:
- Place the oil drain pan beneath your car's oil pan.
- Loosen the oil fill cap to allow air to enter the engine.
- Remove the oil dipstick to release any pressure that may have built up.
Step 5: Drain the Old Oil
Now it's time to drain the old oil from your car's engine. Here's how:
- Locate the oil drain plug beneath the engine.
- Use a wrench to loosen the drain plug. Be cautious as the oil may be hot.
- Once completely drained, replace the drain plug and tighten it.
- Let the oil drain completely before moving on to the next step.
Step 6: Replace the Oil Filter
Replacing the oil filter is an essential step in the oil change process. Here's how to do it:
- Remove the old oil filter by twisting it in a counter-clockwise direction with an oil filter wrench.
- Wipe the area clean and apply a thin layer of new oil to the gasket of your new oil filter.
- Screw the new oil filter in a clockwise direction until it is securely in place.
Whether it's a regular or
synthetic oil change, always replace the filter to maintain clean engine performance.
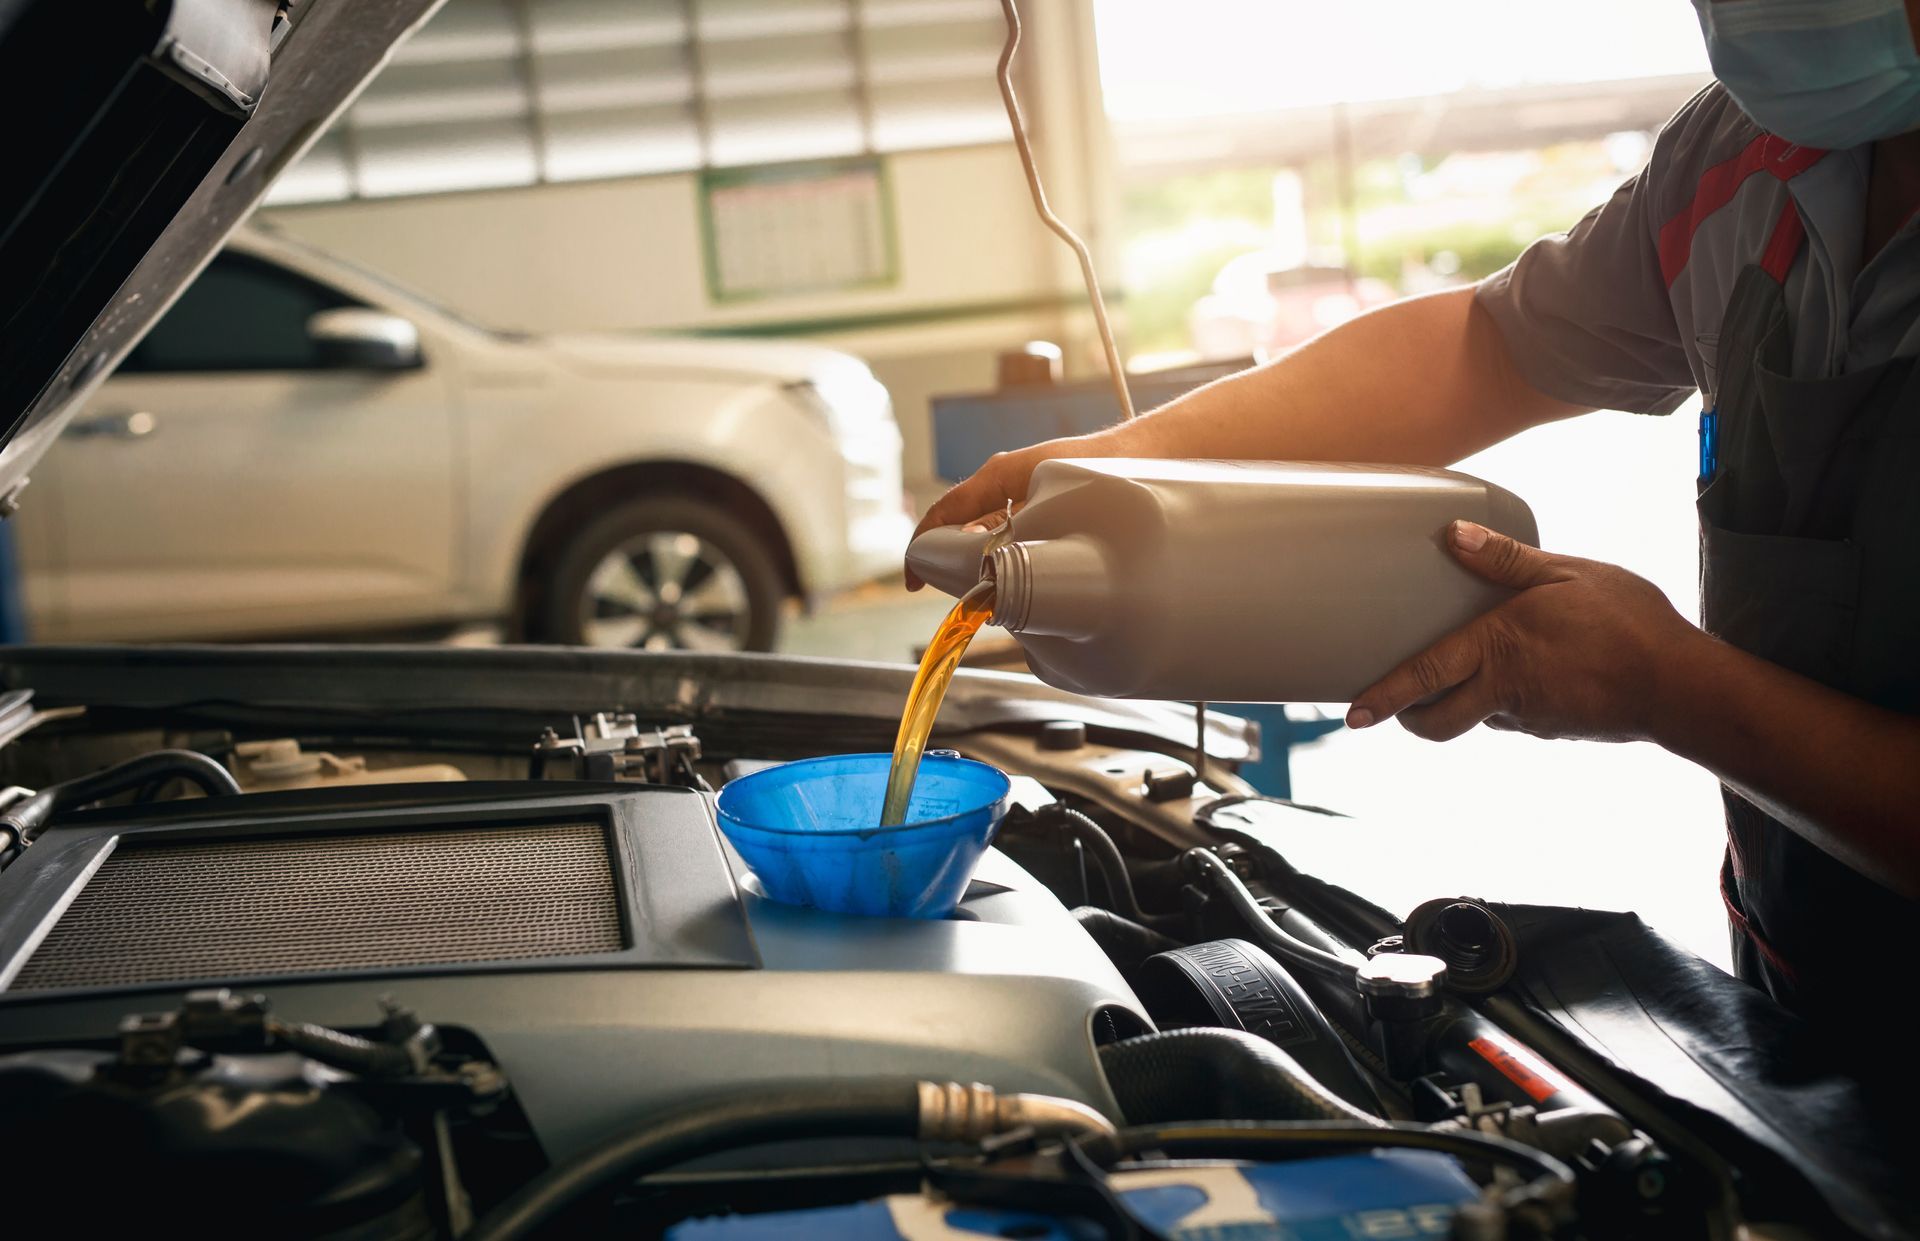
Step 7: Pour in the New Oil
Now it's time to pour in the new oil. Make sure you have the correct amount and type of oil for your vehicle.
- Use a funnel to pour the new oil into the oil fill hole.
- Stop when the oil level reaches the full mark on the dipstick.
- Replace the oil fill cap and the dipstick.
Step 8: Run the Engine and Check for Leaks
Once you have completed the oil change, it's essential to run the engine for a few minutes and check for any signs of leaks. If everything looks good, then congratulations, you have successfully completed the oil change process!
Doing this step properly ensures your car engine oil change was done right—protecting your engine and extending its life.
Experience Fast and Professional Oil Changes at Oil Buddy in Mesa, AZ
If DIY
oil changes are not your thing, or if you simply don't have the time, our team at Oil Buddy is here to help. We offer
quick oil changes and professional service in Mesa, AZ, and surrounding areas. Visit our shop at 2828 S Country Club Dr., Mesa, AZ 85210, or contact us at
480-892-4130 for inquiries. We also offer fleet maintenance services to keep your business on the road.
FAQs